Refreshing diagrams from SQL Server using SQL Authentication
If you did not read Part 1 of this series, do so now as it will help ensure that you have Visio Services, Excel Services and Secure Store Service configured properly.
There are a few scenarios that you can configure in order to publish Visio diagrams to Visio Services that can be refreshed from SQL Server using SQL Authentication.
Prerequisites
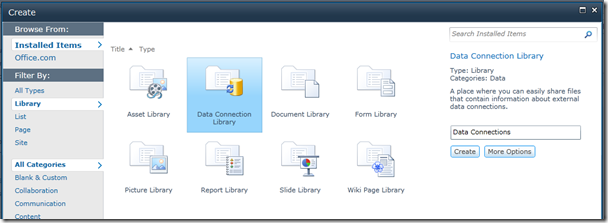
Before we dive into these scenarios I want to make sure that you have a Data Connection Library configured on your SharePoint site. A Data Connection Library is a secure location used to store Office Data Connection (ODC) files. This is a standard library type in SharePoint 2010 and can easily be created using the Data Connections Library template when you choose to create a new library.
I simply named mine Data Connections and added it to my Quick Launch bar for easy access.
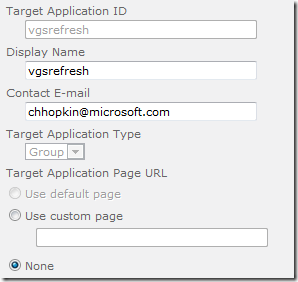
You also need to configure a target application in Secure Store Service (SSS) that will map users to a SQL Login. The steps to do this are covered in Part 1 of this series where we create the Unattended target application. Use the same steps but choose a unique name for this additional target application. I try to use a name that reminds me of the authentication type and credentials that are configured for the target application.
Don’t forget to set the credentials on this target application after creating it, this is a common mistake. And remember this is a SQL Authentication scenario so set the user name and password to a valid SQL Login.
The credentials that I set for the target application are also setup as a SQL Login in my SQL server and assigned to the dbreader role for the databases I wish to refresh from to ensure that this login can only read data from my tables. 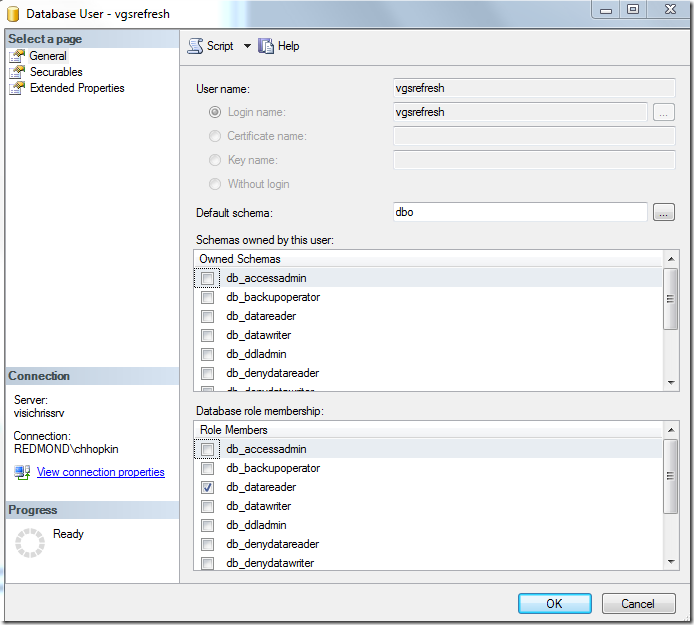
This is a recommended practice as these is no reason to have additional permissions as Visio Services cannot update the tables, so this will reduce your security risk for this account. I recommend that you have a specific account that is used specifically for Visio Services and Excel Services data refresh scenarios. Doing so will make it easier to manage access and debug connectivity issues.
Using ODC files created with Excel
Why start with Excel? Excel’s data connection wizard gives you additional options for specifying advanced authentication options and the ability to export the connect to a different location. There are a few articles on the web outlining this procedure but I thought it would be helpful to describe all the steps that I follow when configuring data refreshable diagrams for Visio Services.
To create the ODC file in Excel:
- Start Excel 2010
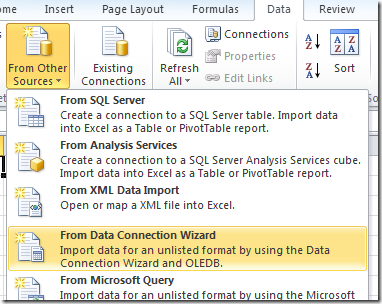
- From the Data tab choose the From Data Connection Wizard option under the From Other Sources list.
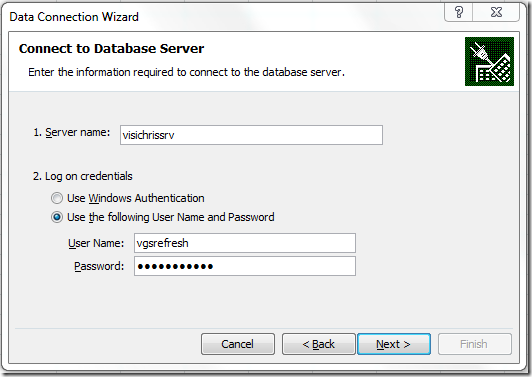
- In the connection dialog
- Enter the name of your SQL server
- Change the Log on credentials option to Use the following User Name and Password as this specifies SQL Authentication.
- For User Name enter the name of the SQL Login.
- For Password enter the password for the SQL Login.
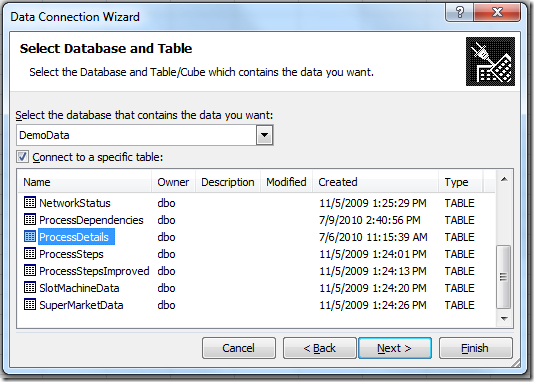
- Select the table you wish to import data from and click Next
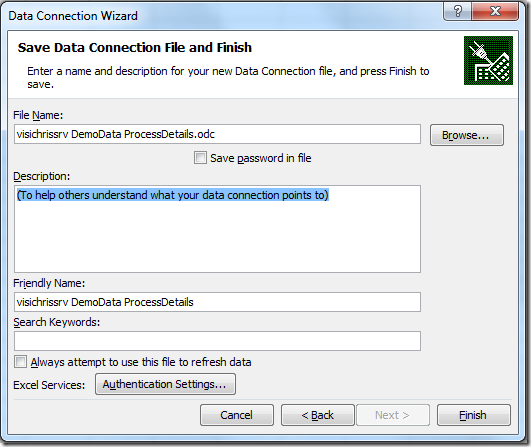
- On the Save Data Connection file and finish screen just click the Finish button. This will save the ODC file locally to your machine. We will soon modify this ODC file and upload it to our SharePoint site.
- In the Import Data dialog choose the PivotTable Report option and click OK.
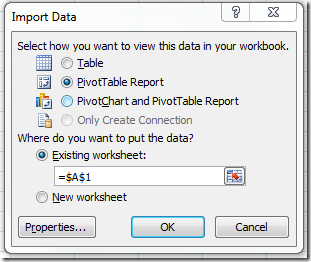
The reason for this is we are going to save this workbook to our SharePoint site as a test to ensure Excel Services can refresh from our SQL DB using the SQL authentication credentials defined in SSS. Excel Services will not refresh a Table so we need to choose a PivotTable Report in this test scenario.
You will be prompted for the SQL Login credentials to connect the client to your SQL DB using SQL Authentication. Enter the SQL Login credentials and click OK.
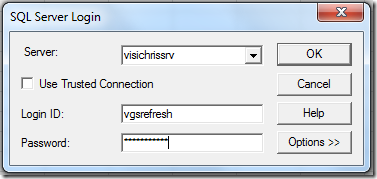
- Configure the Pivot any way you wish.
From my data source I will choose Status + Step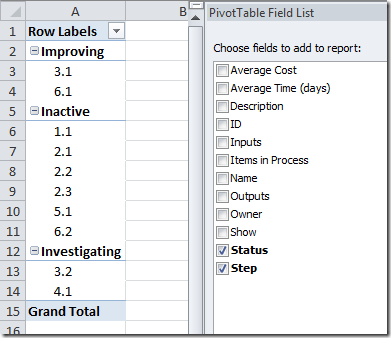
- Now we need to update the ODC file and export it to our SharePoint site. To do this click on the Connections button on the Data tab.
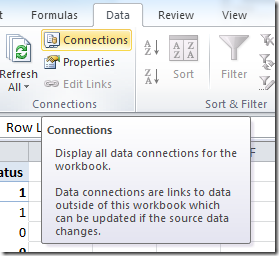
- In the Workbook Connections dialog select the connection that we just configured and click on the Properties button
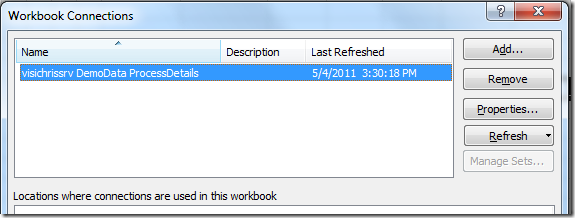
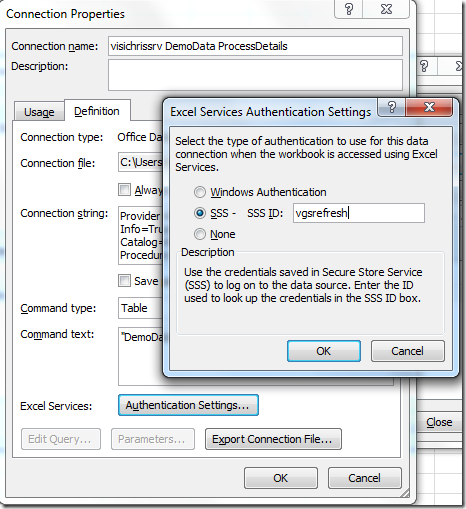
- In the Connection Properties dialog
- Now that the ODC file is configured to use our SSS target application, it is time to export the file to our SharePoint site. Click on the Export Connection File… button.
- Browse to your Data Connection library (mentioned at the beginning of this article) and save the ODC file in this location.

When complete you will see the Connection file property change from a local path to the path of your Data Connection library on your SharePoint site.

- Click OK and then Close to save these changes to the workbook.
- At this point the workbook is connected to SQL server using SQL Authentication and will pass the current users credentials when you click the refresh button. To verify this open SQL Profiler and watch the entries. You will see an entry for your query from the client. Notice the ApplicationName column and the LoginName column.

Note: The client is connecting to the data source so the current user’s credentials will be used at this point. The client does not use the credentials set for the specified SSS target application as SSS is specifically for SharePoint service applications, not clients.
- Now it is time to verify that Excel Services can refresh this workbook. Why? Because it is an easy next step since we already have the ODC file and the workbook configured. If Excel Services will not work, most likely Visio Services will not work either.
Click Save As and browse to your document library and save the workbook. - Once the workbook is saved navigate to the document library in your browser and click on the workbook’s link. Excel Services should render the workbook in your browser.

- To trigger a refresh of the Pivot make sure your cursor is in a cell that participates in the pivot then choose the Refresh All Connection option from the Data button on the ribbon.
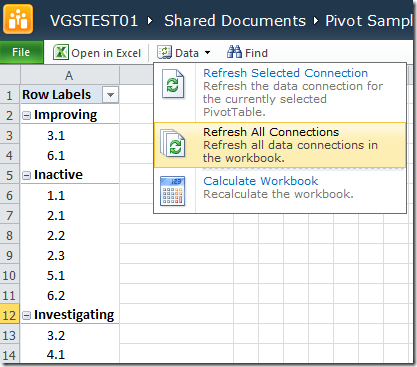
- Again, if you monitor SQL Profiler you will see the LoginName being used is the one that you set for the target application in SSS.

Now that you have configured the ODC file and it is being used properly by Excel Services you can simply connect your Visio Diagram to the same ODC file. To do this, open your Visio diagram in Visio 2010 Professional or Premium and start the Data Linking wizard by clicking the Link Data to Shapes button on the Data tab in the ribbon.
- In the first screen of the wizard you just need to select the last option, Previously created connection,
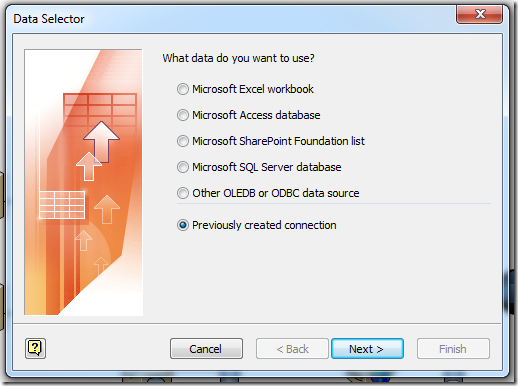
and then browse to the ODC file that you saved to your Data Connection Library on your SharePoint site.
- After choosing the ODC file you will need to enter the SQL Login credentials that the Visio client will use to connect to the SQL DB. Enter the SQL Login credentials and click OK.
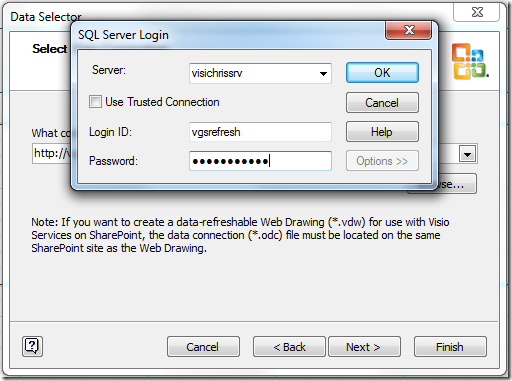
- After you finish stepping through the rest of the data linking wizard, the data from your SQL database will be imported to the diagram and displayed in the External Data window.
- From the External Data window, drag and drop a few records on a few of the shapes in your diagram.
This is an important step because Visio Services will not refresh the data record set in the published diagram unless there is at least one record linked to one shape in the diagram.Note: If you need a data linking tutorial check out this article, http://office.microsoft.com/en-us/visio-help/add-imported-data-to-shapes-HA010131383.aspx
- Data Graphics are also configured for you by default. Without Data Graphics applied to your shapes you will not see any visual indication in your diagram that data has actually been refreshed.
For my example I simply used the default Data Graphics that were assigned to my shapes when I linked the records to the shape.Note: If you need a tutorial on Data Graphics check out this article,
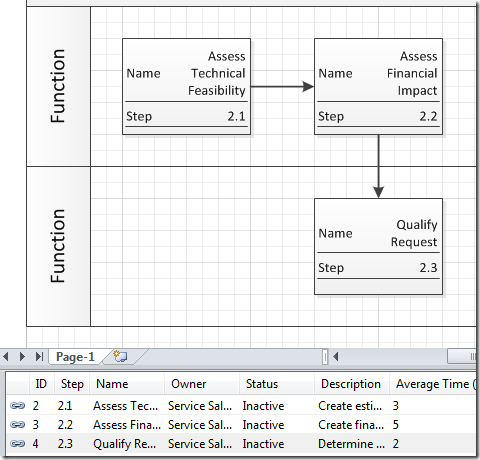
- Now I can save this diagram to my SharePoint site using the new VDW file format. Once saved, I can click the link to the diagram and it will render in my browser.
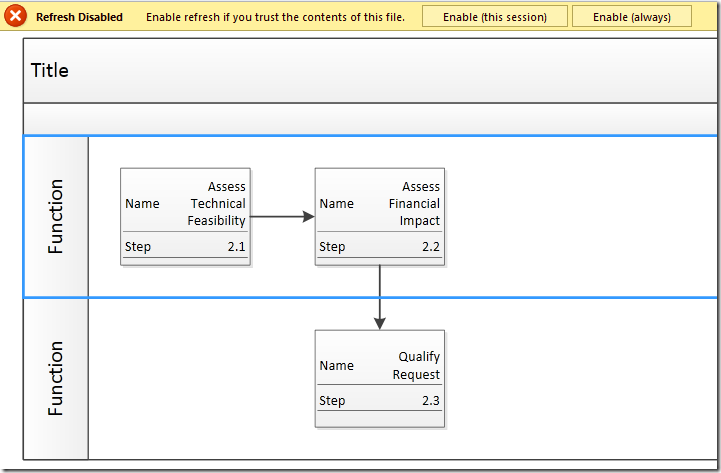
- When you click on the Enable button in the Refresh warning message bar the diagram will refresh using the SQL Login credentials that you set for the target application in SSS.
You can verify this using SQL Profiler.

