For this blog post, we put together a list of some of our favorite Visio tips & tricks. Learn these to save time and improve the look of your diagrams.
Quickly create evenly spaced shapes
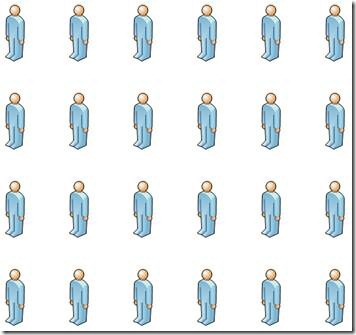
Let’s say you’d like to make a grid of shapes like the following:
To create this, first make a copy of the individual shape (e.g. using Control+Drag):
Then, press Control+Y to repeat that operation:
In a similar manner, you can then copy this row multiple times to create a grid.
Keep shapes aligned
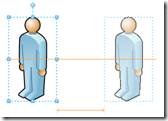
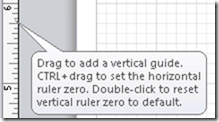
To keep multiple shapes aligned on a vertical or horizontal line (which can be challenging particularly when they are far apart), drag a guide from the horizontal or vertical ruler onto the drawing page:
You can then also glue shapes to this guide. More on this feature here.
Select an overlapped shape
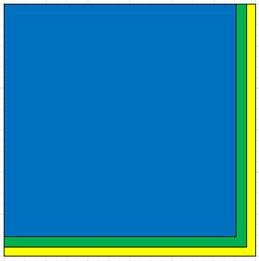
If a shape is covered by other shapes, as is the case with the yellow square below, it can be hard to find a clickable region to select it:
An easy way to select this shape is to click on the blue shape 3 times, pausing in between so as not to double-click. Visio will cycle through selecting each shape that overlaps at your mouse’s location.
Reset a connector
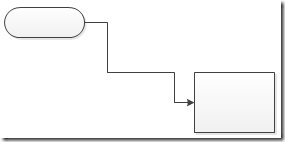
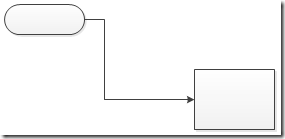
Let’s say you manually changed the path of a connector, but don’t like the result:
You can reset its path by right-clicking the connector and clicking “Reset Connector”:
Add and position text on connectors
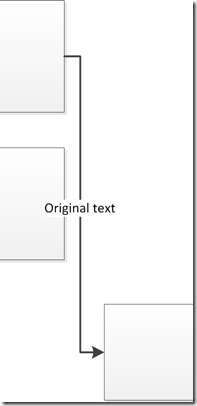
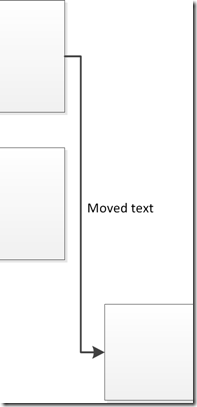
If you want to label a connector, you can add and move text on it the same way that you add and move text on other shapes:
- Select the connector.
- Type your text.
- To move your text, move the control handle on the connector (
 ). This is useful when you want to fix an overlap:
| Before | After |
 |
 |
Create connections that reposition dynamically
Let’s say you have two connected shapes:
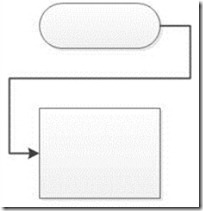
Sometimes when you reposition those shapes, you may end up with an undesirable jagged connector like this:
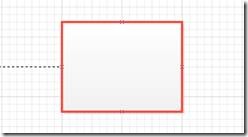
This happens because the connector stays fixed to its original connection points on the shapes. To prevent this from happening, Visio has a feature called dynamic glue that lets connectors automatically reroute to the nearest pair of connection points. When creating your connector, drag the connector endpoint not to an individual connection point on the shape, but rather toward the middle of the shape until a red box appears around the entire shape, like this:
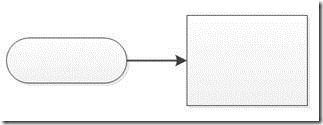
The result is a more direct connector when you reposition the connected shapes.
Drag AutoConnect arrows (new in Visio 2010)
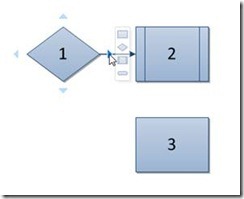
Many people know that you can connect neighboring shapes quickly by clicking on the blue AutoConnect arrows around a shape:
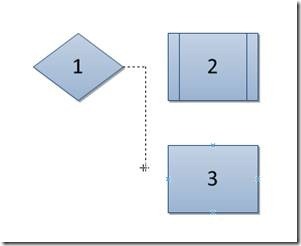
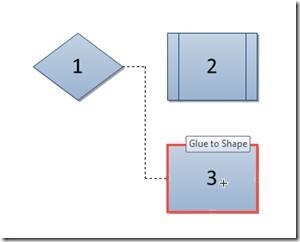
Visio 2010 adds a feature where you can also drag a new connector from an AutoConnect arrow to a shape of your choosing:
In the sequence above, after hovering over the AutoConnect arrow to the right of shape #1, a connector is dragged and connected to the target shape #3. You can read more about this feature in this blog post.
Collapse the shapes window (new in Visio 2010)
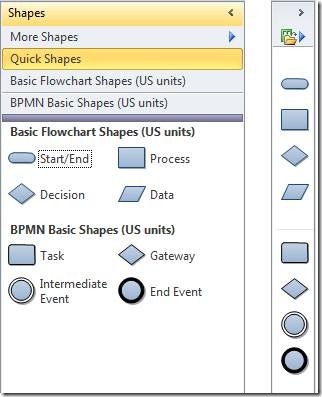
If you need more screen space for your diagram, you can collapse the Shapes Window by toggling the small arrow on the top right of the window, which still lets you drag shapes out:
You can read more about this feature in this blog post.
Work faster with keyboard shortcuts
Some of our favorite keyboard shortcuts are described here.
Those are some of our favorite Visio tips & tricks. If you have one you’d like to share, please leave a comment below.

